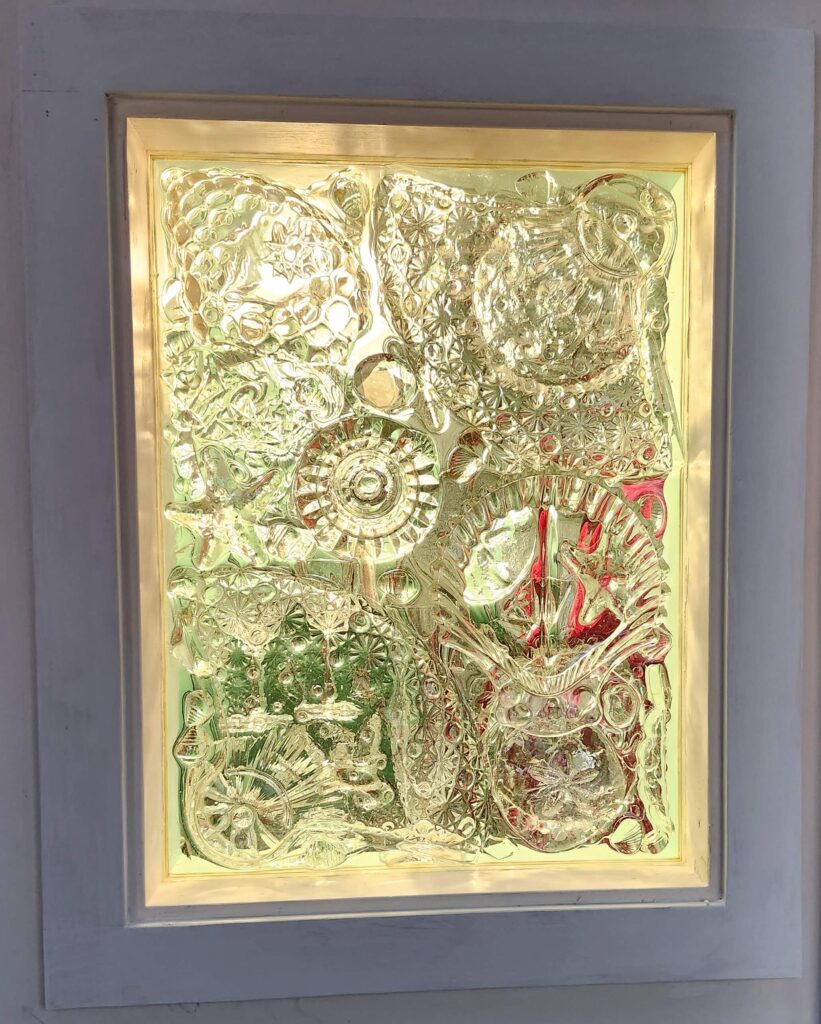
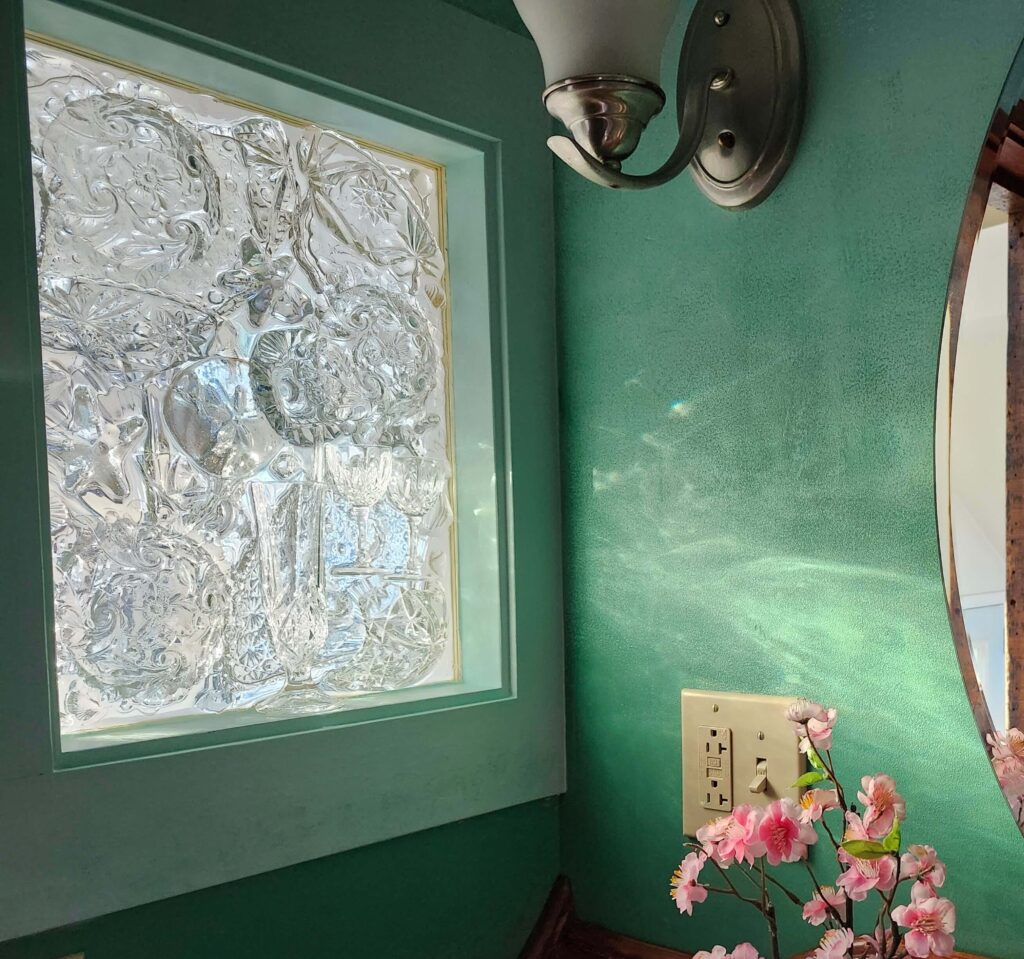
This was not an original idea! It was something Ron and I admired for years as one hung in the Watershed Tavern.
Ron started collecting glass on his trips to the Feng Shui area at the dump. We had a shelf in the shop dedicated to those pieces. The goal was to open a window between the downstairs bathroom and laundry room at Seanook to let more natural light into the bathroom. We even framed out the window before we closed up the wall between the two spaces.
Fast forward about a dozen years! Ron had passed away. Carpenter Dan was working for me in the spring of 2023 doing finish work in Seanook’s entry, library area, and finally the downstairs bathroom. Our plan all along had been to put a medicine cabinet to the left of the sink counter, but the logistics with the light fixture in that corner made that too complicated. Dan suggested putting the window there instead. He framed out the hole and created the external frame that would go into it.
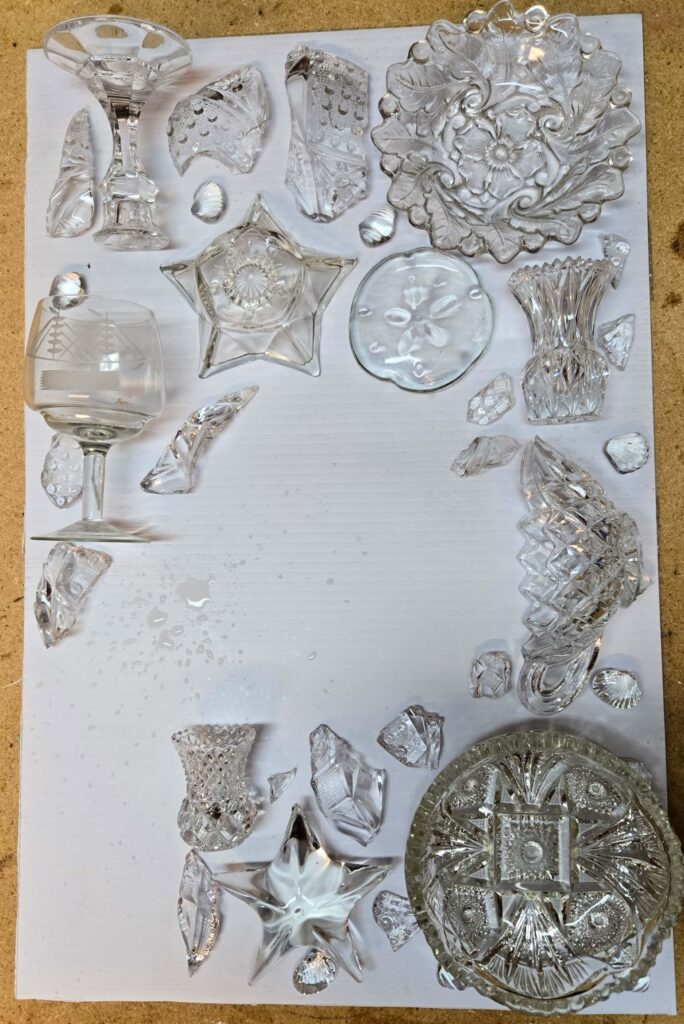
I jumped into epoxy research, made a template, and sized up how many more glass pieces I would need. I already had the glass starfish and sand dollars, which I had found in a basket at a store like Sherman’s years before. Then I ordered the little shells from Etsy.
With the artistic arrangements complete, I sanded sharp edges on deliberately broken pieces and was ready for assembly. I waited several days for hardening before turning the piece over to epoxy the other side. I was not particularly concerned about bubbles in the epoxy, as I did not want people to be able to see through the window anyway.


In the spring of 2025, Aaron was working at Seanook to do a few finishing touches. I set him to work finding the opening for the window from the laundry room side. With that part done, we found notes inside the wall for the location of the cupboard for the toilet brush and plunger (which was also previously framed out under the siding). He created that cupboard.
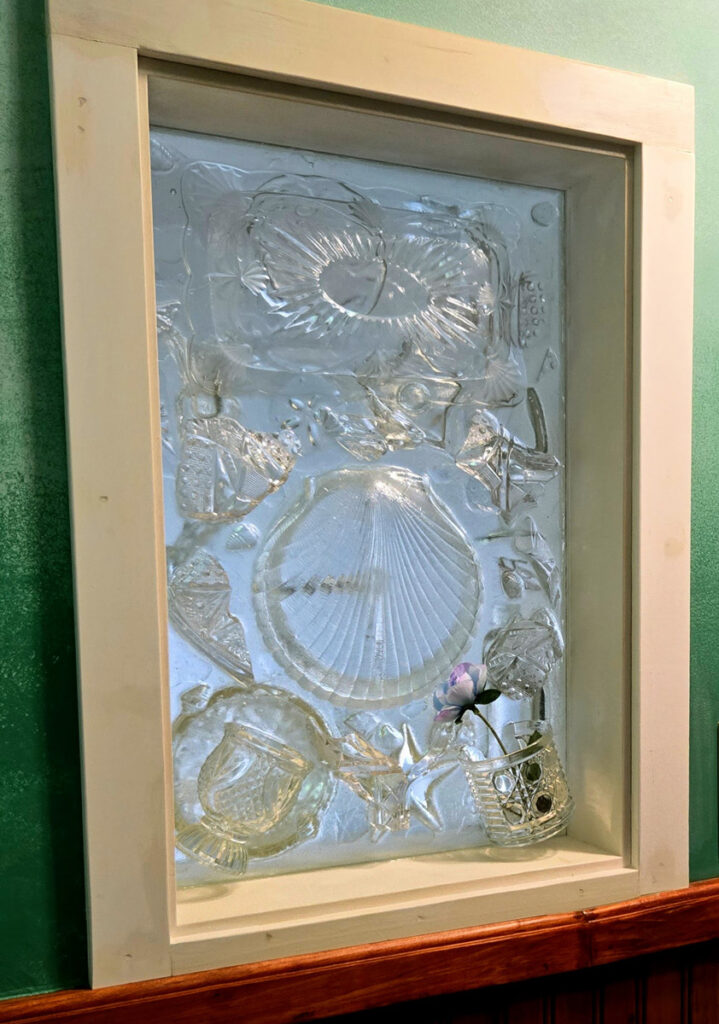
Completion of the second epoxy window was fraught with calamity! First, I could not find glass starfish and sand dollars identical to those obtained years before for the first window. I finally found one sand dollar in stock at a shop in Florida, but there was a glitch in the ordering process. I gave up, but returned a few weeks later and was able to complete the transaction. I got the small seashells from Etsy.
I also searched thrift stores for other glass pieces. Ron’s sister, Janet, sent me the large tray at the top, which she found at a thrift store in NJ; it cost her a fortune to mail it as a birthday present to me!
Setback #1: For the first side, with all those valuable shells in it, I mixed the epoxy for longer than instructed, but it was not thoroughly combined and never hardened completely. I called the company and was ultimately told that if I poured another layer on top of the sticky one, it would all be fine.
Setback #2: While I was on the phone with customer service, I went to measure the exact size of the window for his estimate about how much epoxy to buy. To my horror, I found the window and frame full of brownish water! I was creating this project on “my” little workbench on the east wall in the shop. It was a winter of fluctuating temperatures with unusual ice damming on roofs. Unfortunately, the water dripped down through stored lumber above right into my partially dry window, staining it with brownish-yellow tannins. I was able to clean the glass but not the sticky epoxy; the stain remains in what were the little interesting crevices. In addition, the added epoxy depth covered all the wonderful little shells, and other detail was lost as well. Although it did dry just fine, my catastrophes are preserved for history! It doesn’t sparkle like the first one.
After I completed the second side, my grandson, Michael, happened along. He carried the window to Seanook for me and placed it in the framed hole. He suggested turning it so that the second side, which was now the more interesting one, would be in the bathroom, and dressing that with a blue silk flower. Thank you, Michael!


